Note: This article has done its job, and will be retiring soon. To prevent "Page not found" woes, we're removing links we know about. If you've created links to this page, please remove them, and together we'll keep the web connected.
Microsoft Lens is the new camera built into OneNote for iPad or iPhone that lets you take pictures of whiteboards or printed documents, then enhances your photo by cropping, sharpening, and straightening it, so it looks almost like a scanned image. Your picture is added to your note so you can retrieve it later.
To use Microsoft Lens, follow these steps:
-
Create a note or open an existing one, then tap on the note in which you want to insert an image.
-
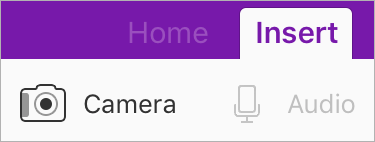
On your iPad, tap Insert, and then tap Camera.

On your iPhone, tap the Camera icon on the ribbon above the keyboard.
-
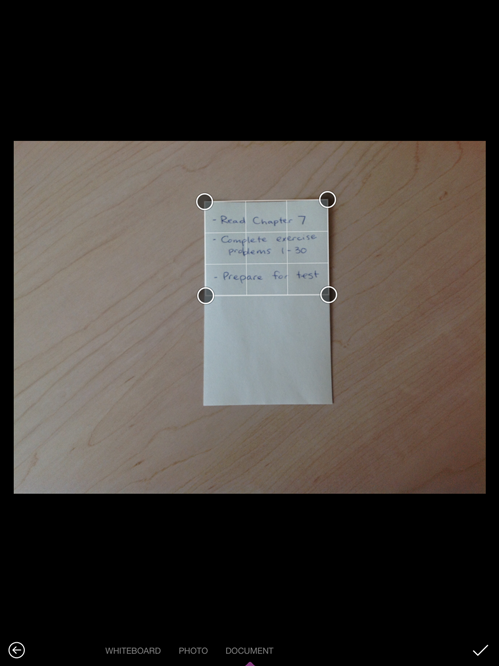
Choose a picture taking mode: WHITEBOARD, PHOTO, and DOCUMENT, and take your picture.

-
Microsoft Lens will automatically crop your picture, but you can change the cropped image by clicking


-
When you’re finished tap

Tip: If you want to switch back to the built-in iOS Camera app, go to Settings > OneNote > Camera Setting, and turn off Use Office Lens.


