Note: The screenshots in this article are from Clipchamp's personal version. The same principles apply to Clipchamp for work accounts.
Selecting multiple items on the editing timeline and turning them into a group lets you make edits to all items in the group at the same time.
Groups can be moved around the timeline without the need to continue selecting multiple items individually — one click is all you need. You can also copy, paste, or split your entire group easily, making these operations more efficient.
How to group items
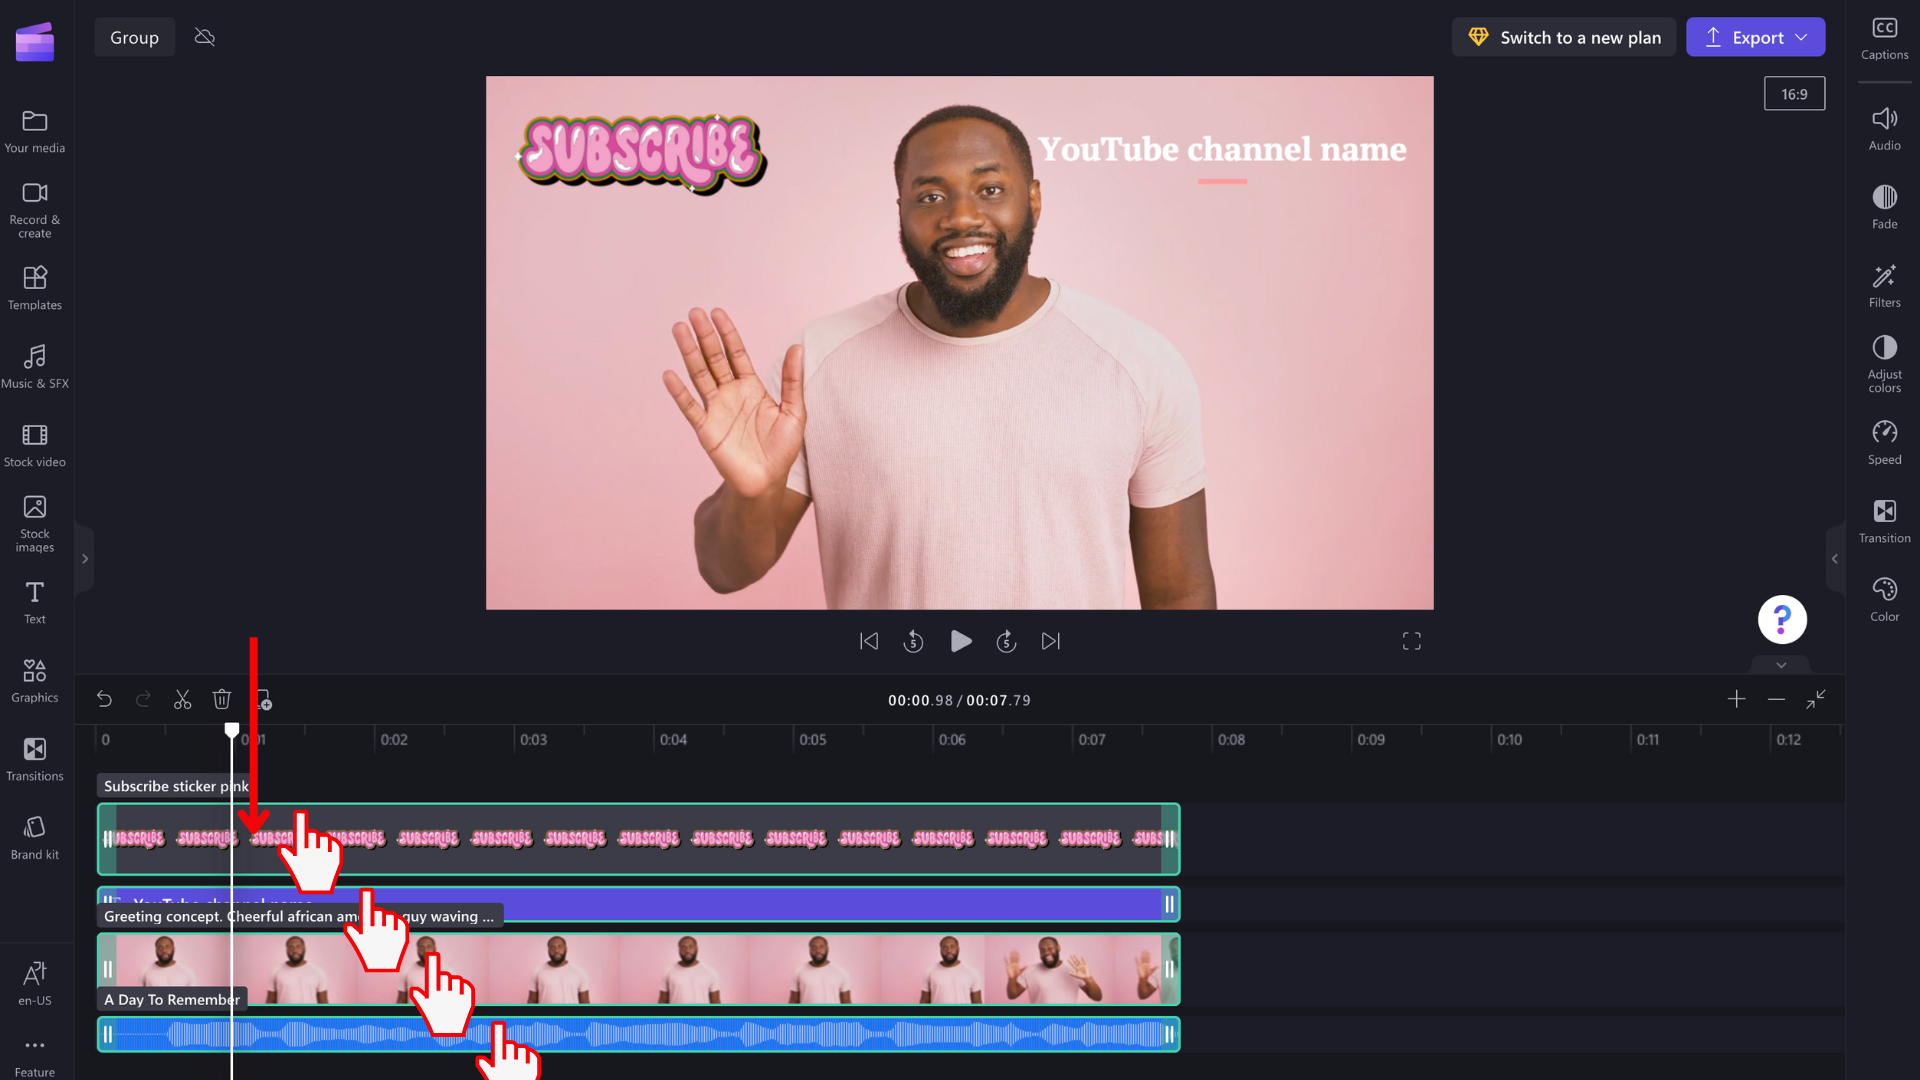
Step 1. Select the items you want in the group
Hold the shift key on your keyboard and select multiple items on the timeline that you would like to group.
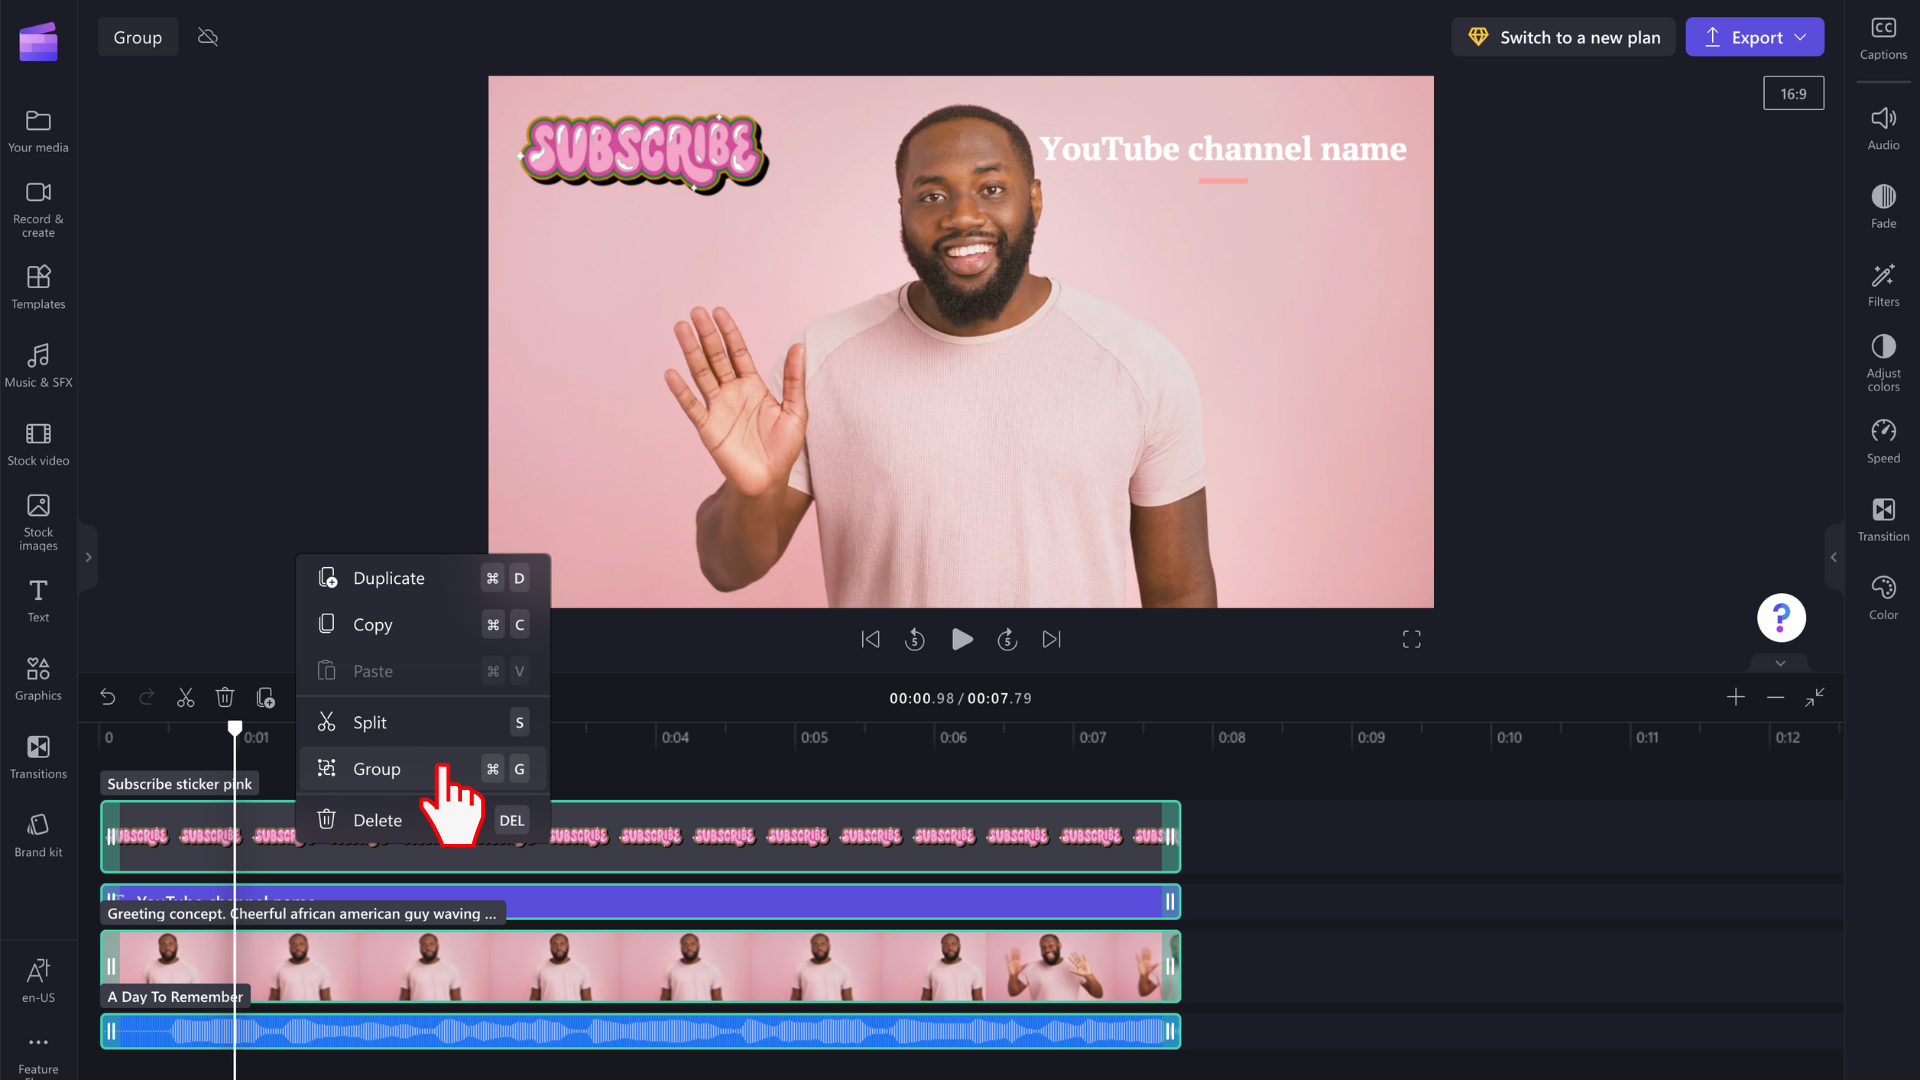
Step 2. Group the items together
After you selected all items, right-click on the group to reveal a menu with options that include duplicate, copy, paste, split, group and delete. Select group from the list.
Your media will now be grouped and look as shown below. The grouped media will be named Group 1.

Edit individual items in a group
When grouped, items can still be edited individually. Just double-click the item on the video preview to make changes individually. The asset will get highlight on the timeline after you select it on the video preview.

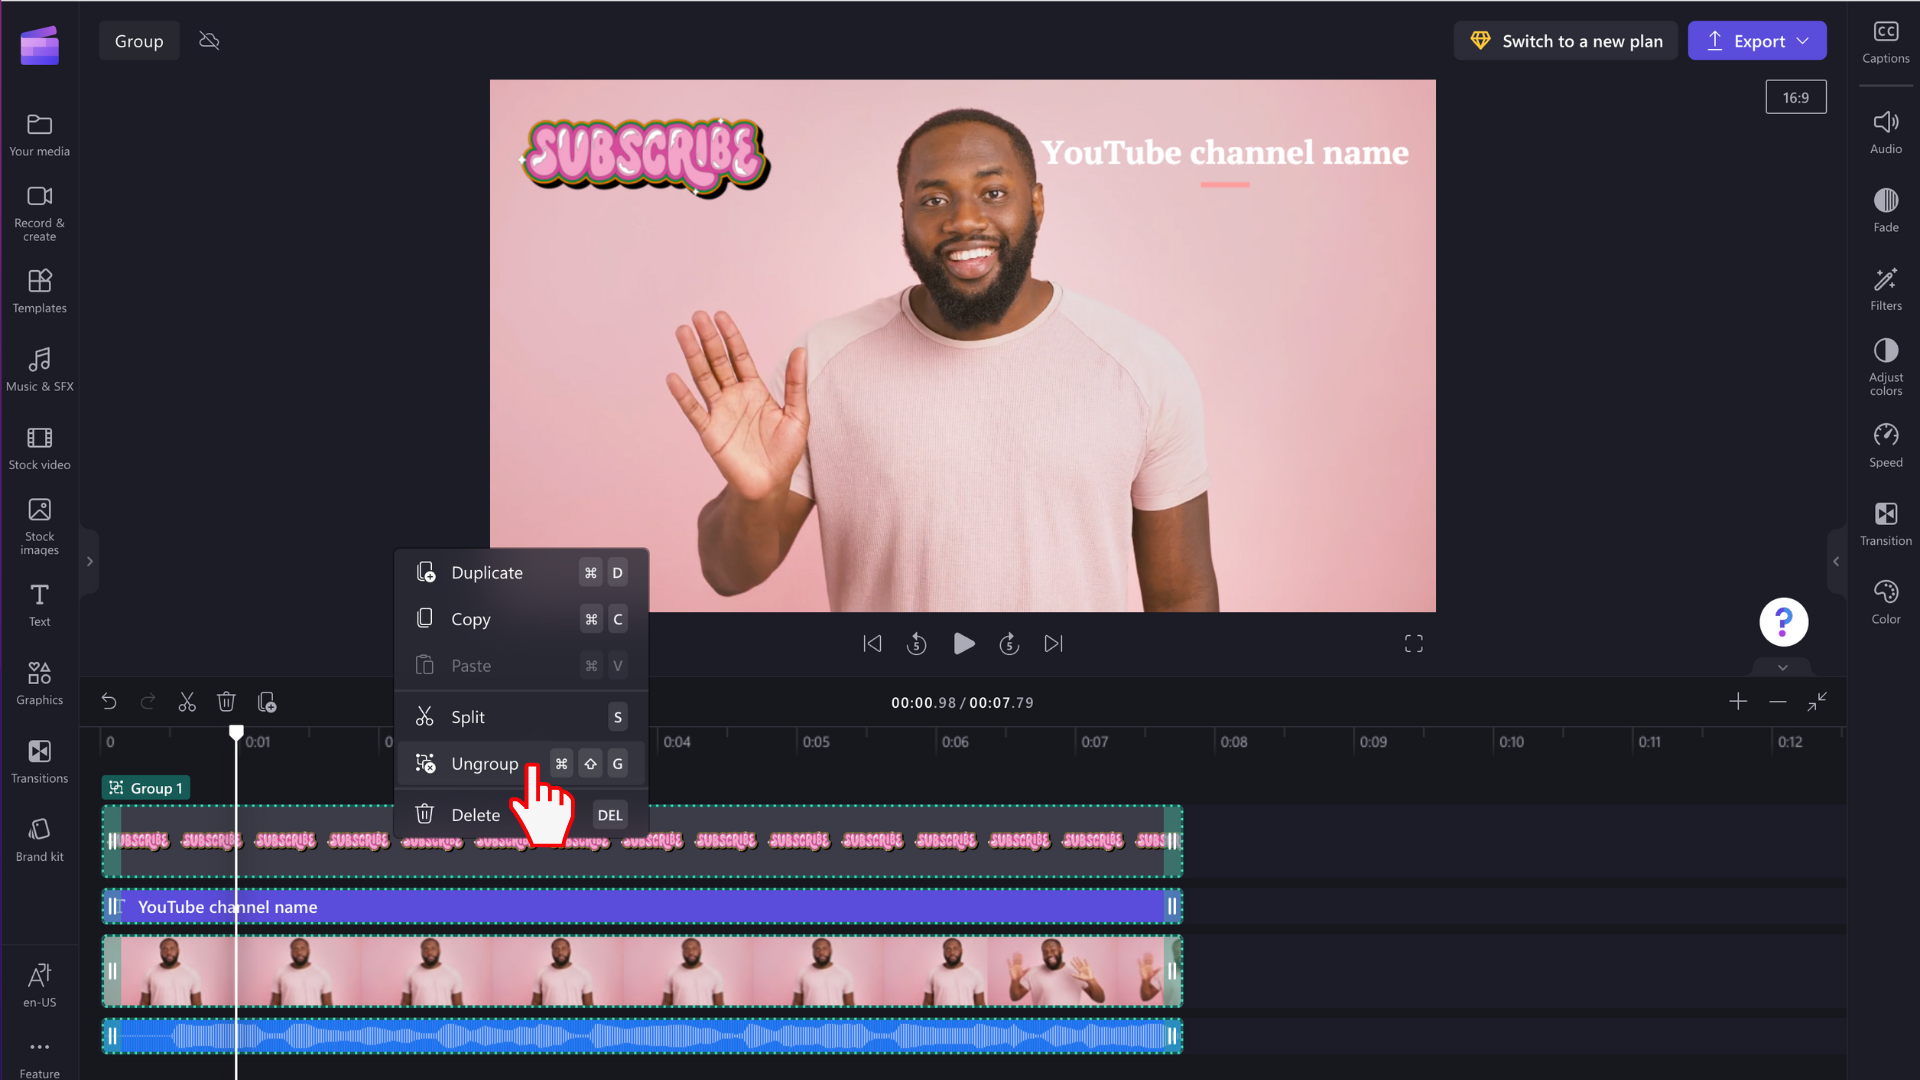
Ungroup items
If you don’t want your items grouped anymore, you can ungroup them. Right-click your group on the timeline and select ungroup from the list of options that appear.