
Note: The screenshots in this article are from Clipchamp for personal accounts. The same principles apply to Clipchamp for work.
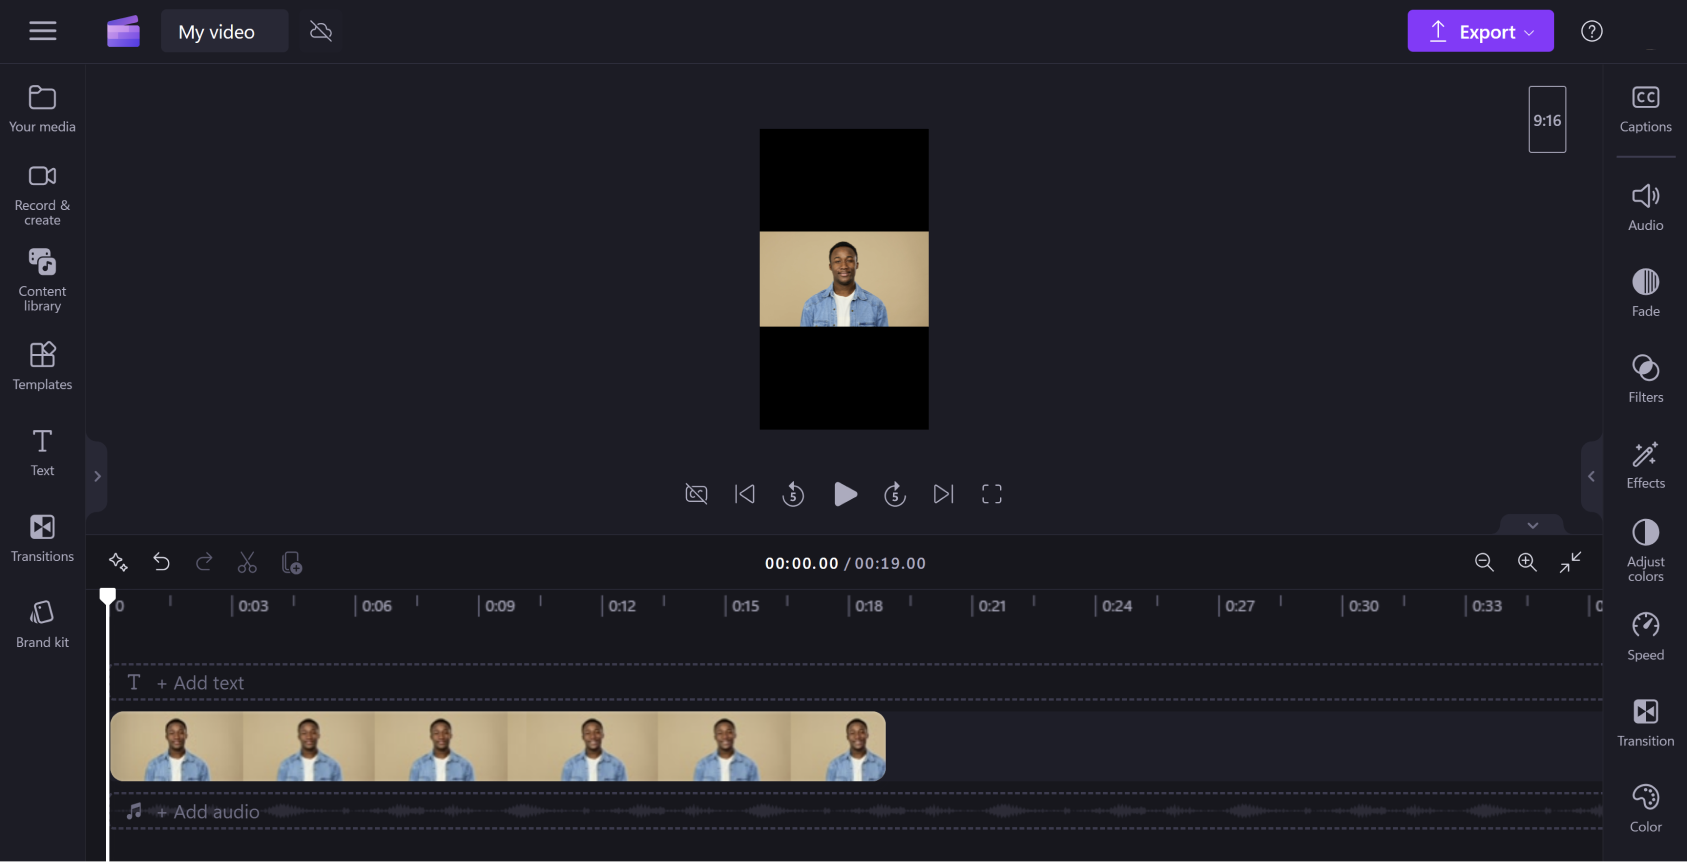
When you create a new video in Clipchamp, the system will automatically set the default aspect ratio to the common widescreen dimensions of 16:9.
If you import media assets with a 16:9 ratio into the video and drag them onto the timeline, the aspect ratio will remain at 16:9. However, the video's aspect ratio will automatically adjust for media files with different aspect ratios.
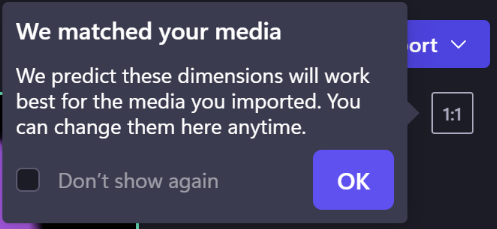
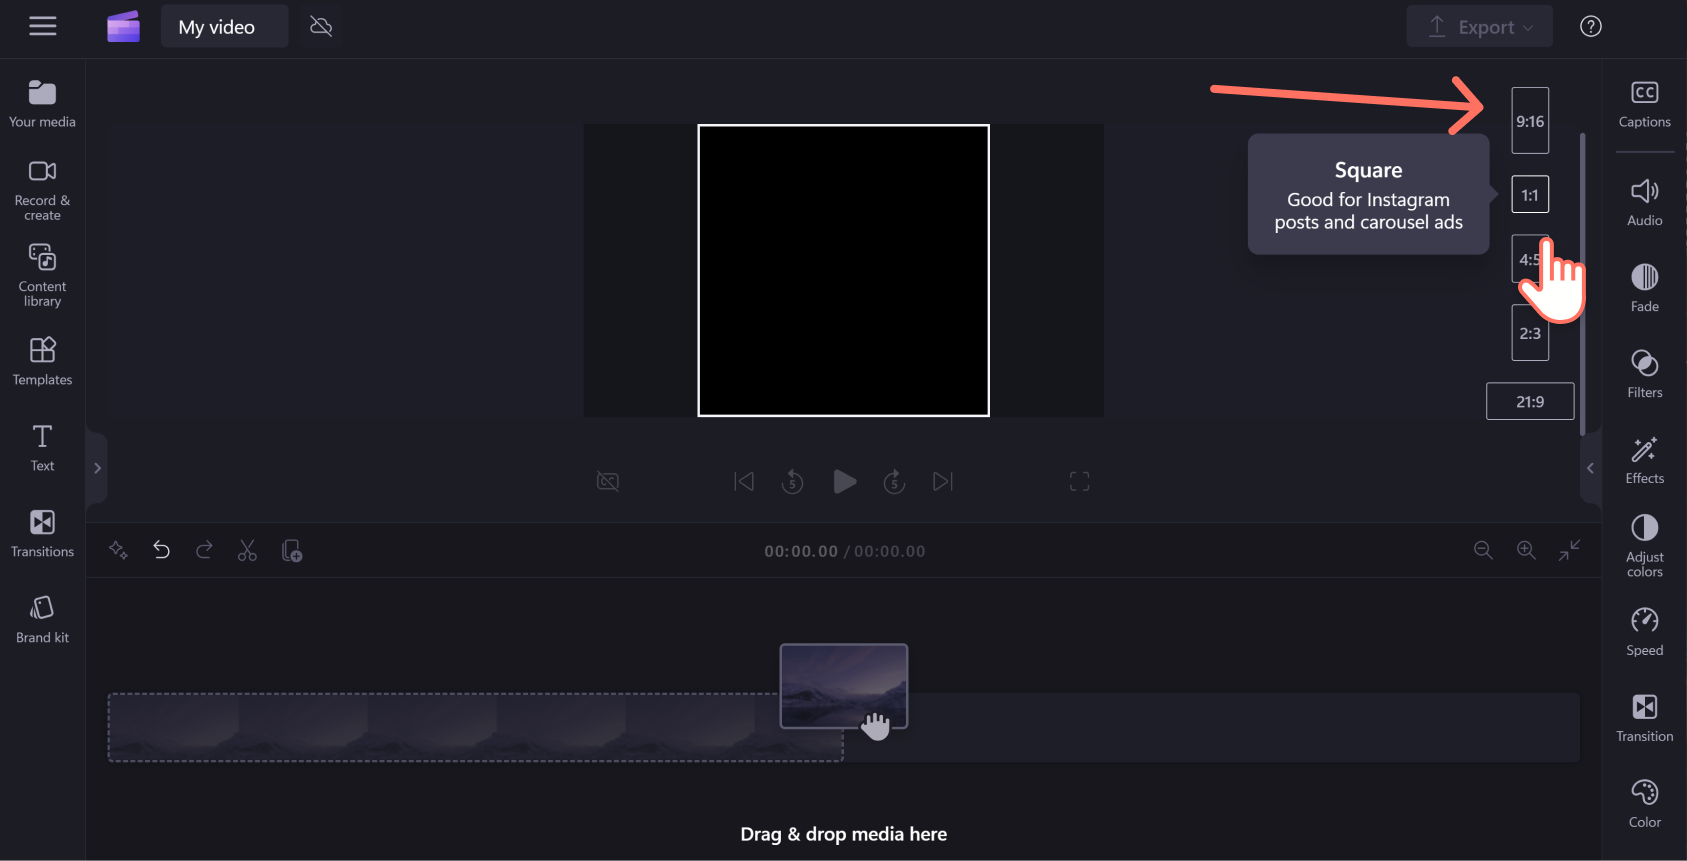
For example, if you're in a 16:9 project and your first media asset is a square image of 1:1, the project will auto-adjust to 1:1. See the image below for reference.
You can of course change this back to 16:9 or to one of the other preset aspect ratio options. Read on to learn more info on the types of aspect ratio presets available in Clipchamp and how to make aspect ratio changes before, while editing, and after exporting a video.
What aspect ratio should I choose?
To choose the right aspect ratio for your project, you need to think about:
-
The way and where you intend to use your final video, and
-
The videos and/or images you plan to add and edit.
Take a look at the types of aspect ratio presets we have in Clipchamp below to help you determine which size to choose.
Types of aspect ratios available in Clipchamp
The aspect ratio for your video will depend on the platform where you'll host it and the dimensions and resolution of the media you want to add.
Clipchamp includes presets for common aspect ratios across many platforms.
-
Widescreen 16:9 — the most common ratio frequently used for YouTube, Vimeo, and Facebook cover videos because it displays clearly on most smartphones, laptops, tablets, and even TV screens.
-
Portrait 9:16 — a mobile friendly dimension perfect for Instagram Reels, Facebook Stories, and YouTube Shorts.
-
Square 1:1 — the standard proportion for feed posts and carousels on Facebook and Instagram.
-
Classic 4:3 — the classic ratio for older footage. It used to be the standard for TV broadcasting, home video recording, and is useful for projects like digitizing VHS or Hi8 tapes.
-
Social 4:5 — the taller, mobile-friendly format for social media feeds like mobile ads on Facebook so you can avoid black bars or cropping.
-
Vertical 2:3 — a narrower frame than the social dimensions that is popular for vertical social media videos like Facebook and Pinterest posts.
-
Cinematic 21:9 — A wider theatrical field of view for films and blog banners.
How to change the aspect ratio before you start video editing
-
Before you upload or select any media, hover your cursor above 16:9 aspect ratio box at the top right of the window
-
Click to open up the dropdown menu.
-
Select your preferred aspect ratio.
How to change the aspect ratio of an existing video
You can change the aspect ratio after you've started editing or you can create a copy of a video in another aspect ratio. Follow the tutorial below to remove black bars and borders if you want your videos to fill the entire frame.
Note: To create a new version of a video with different dimensions while still keeping the old version, first make a copy of the video on the editor homepage, then open the copy and follow the below steps.
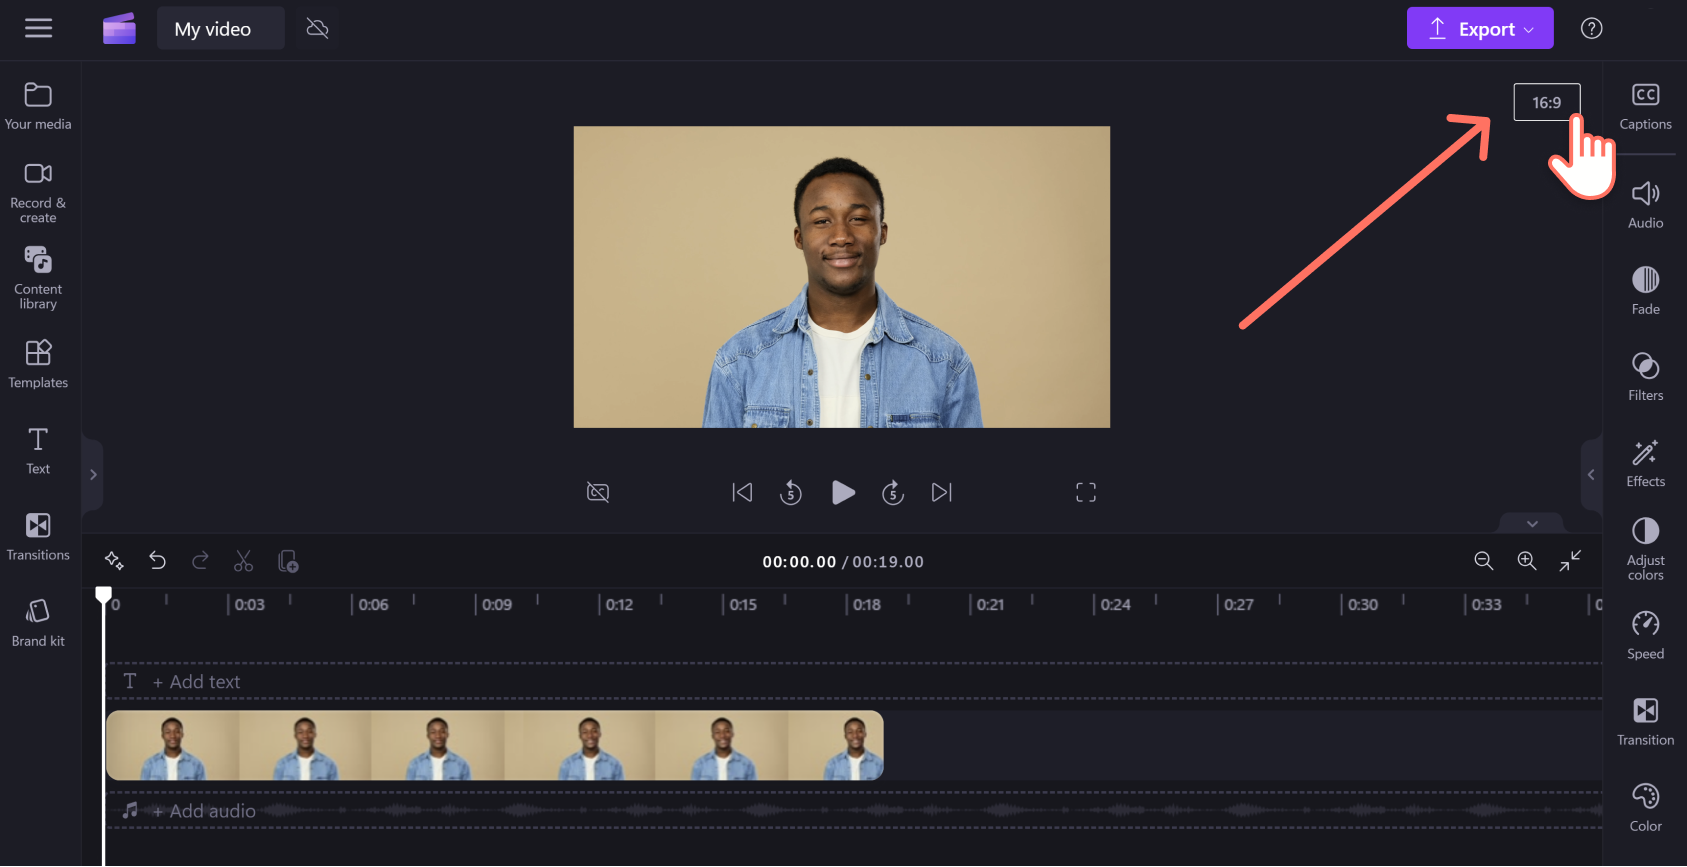
Step 1. Click on the 16:9 aspect ratio button
To change your entire video's aspect ratio, click the 16:9 aspect ratio button at the top right of your screen under the export button.
Step 2. Preview available aspect ratios
The different aspect ratio options of 9:16, 1:1, 4:3, 4:5, 2:3, and 21:9 will appear. Hover your cursor over each to preview how the dimensions look.
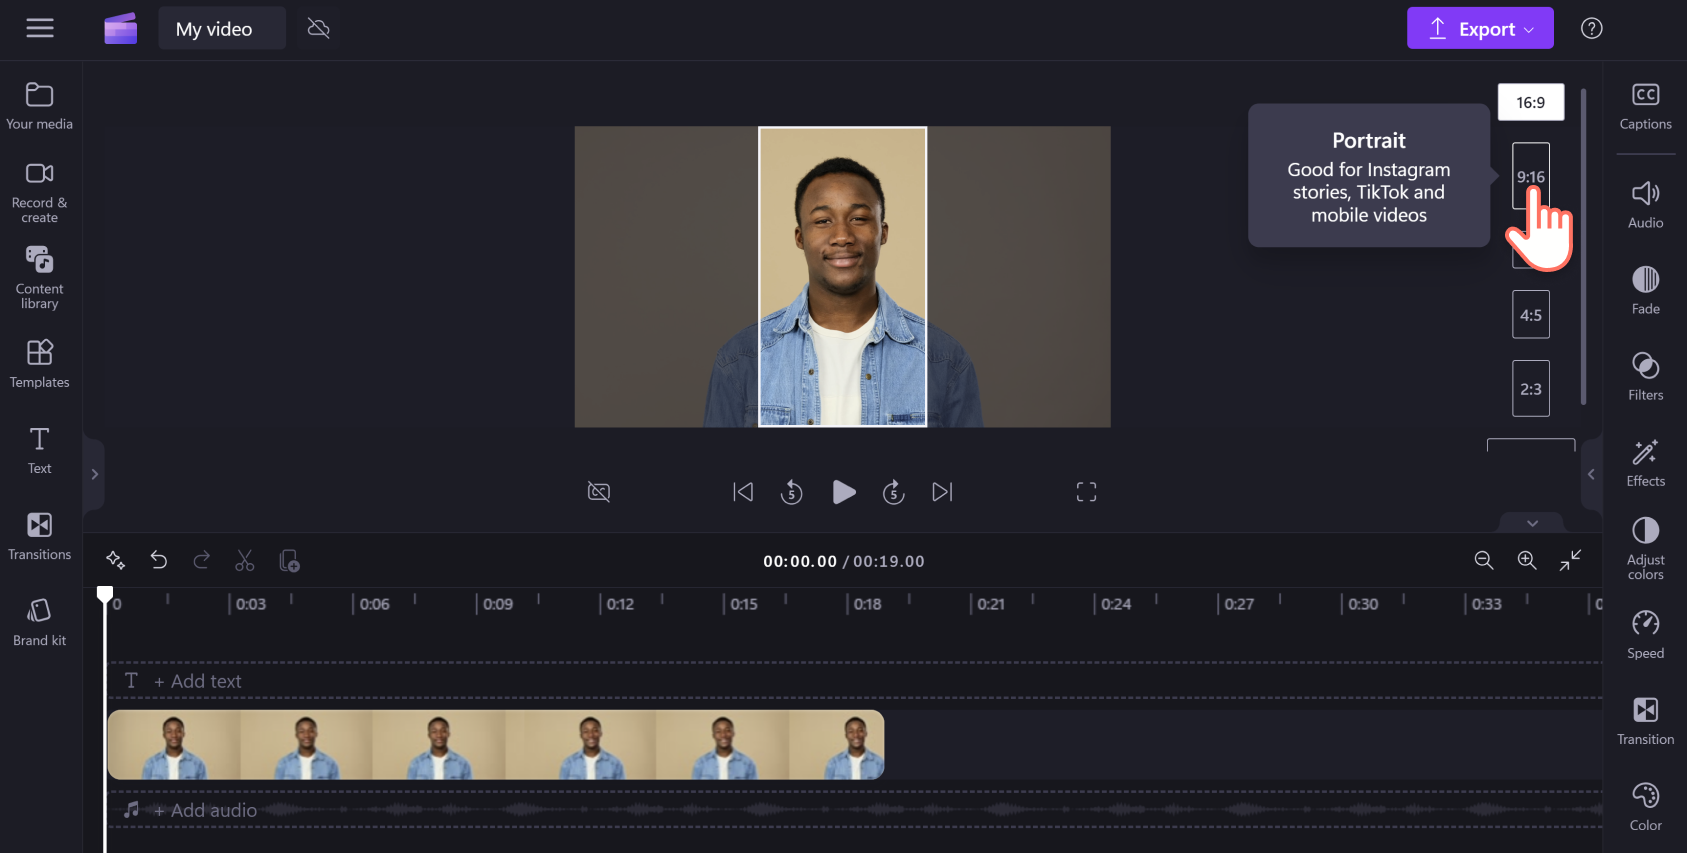
Step 3. Click on your chosen aspect ratio
To select a new aspect ratio, click on your chosen ratio. We've picked the mobile friendly portrait 9:16.
Step 4. Remove borders and black bars around your media
If your video and aspect ratio don't match, black bars/borders will frame your clip. This is known as letterboxing and can be used to preserve the full frame of some media.
If you want to remove the black bars, click on your video in the timeline so it's highlighted green. This will cause a floating toolbar to appear above your video in the preview window. Click the middle fill button.
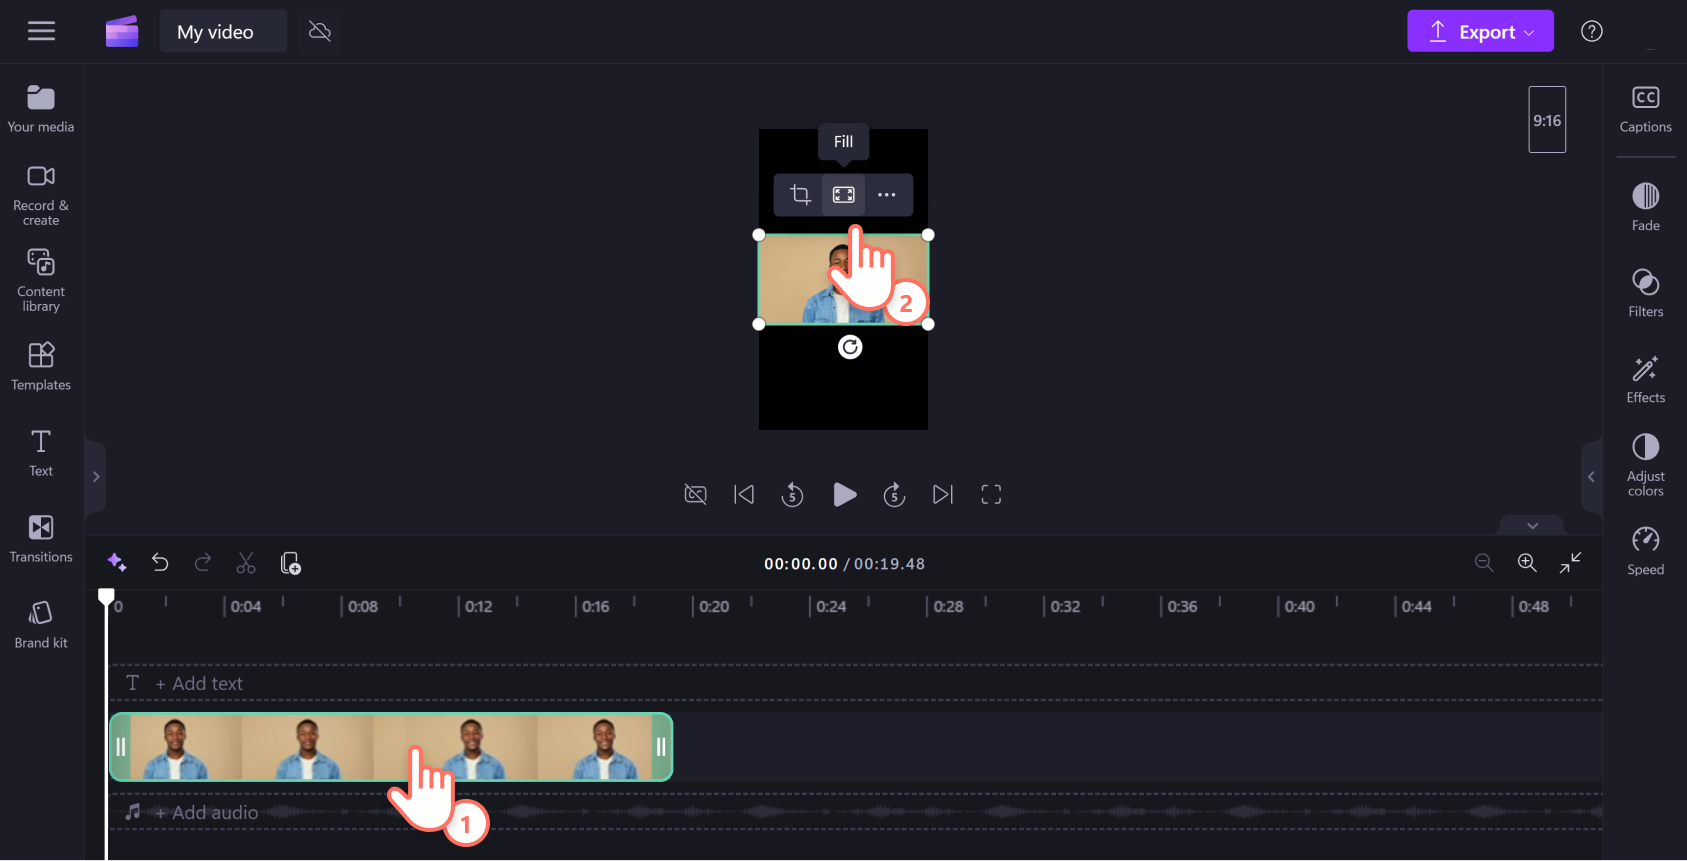
Selecting fill will automatically stretch/crop your video to fill the frame and match the new aspect ratio.
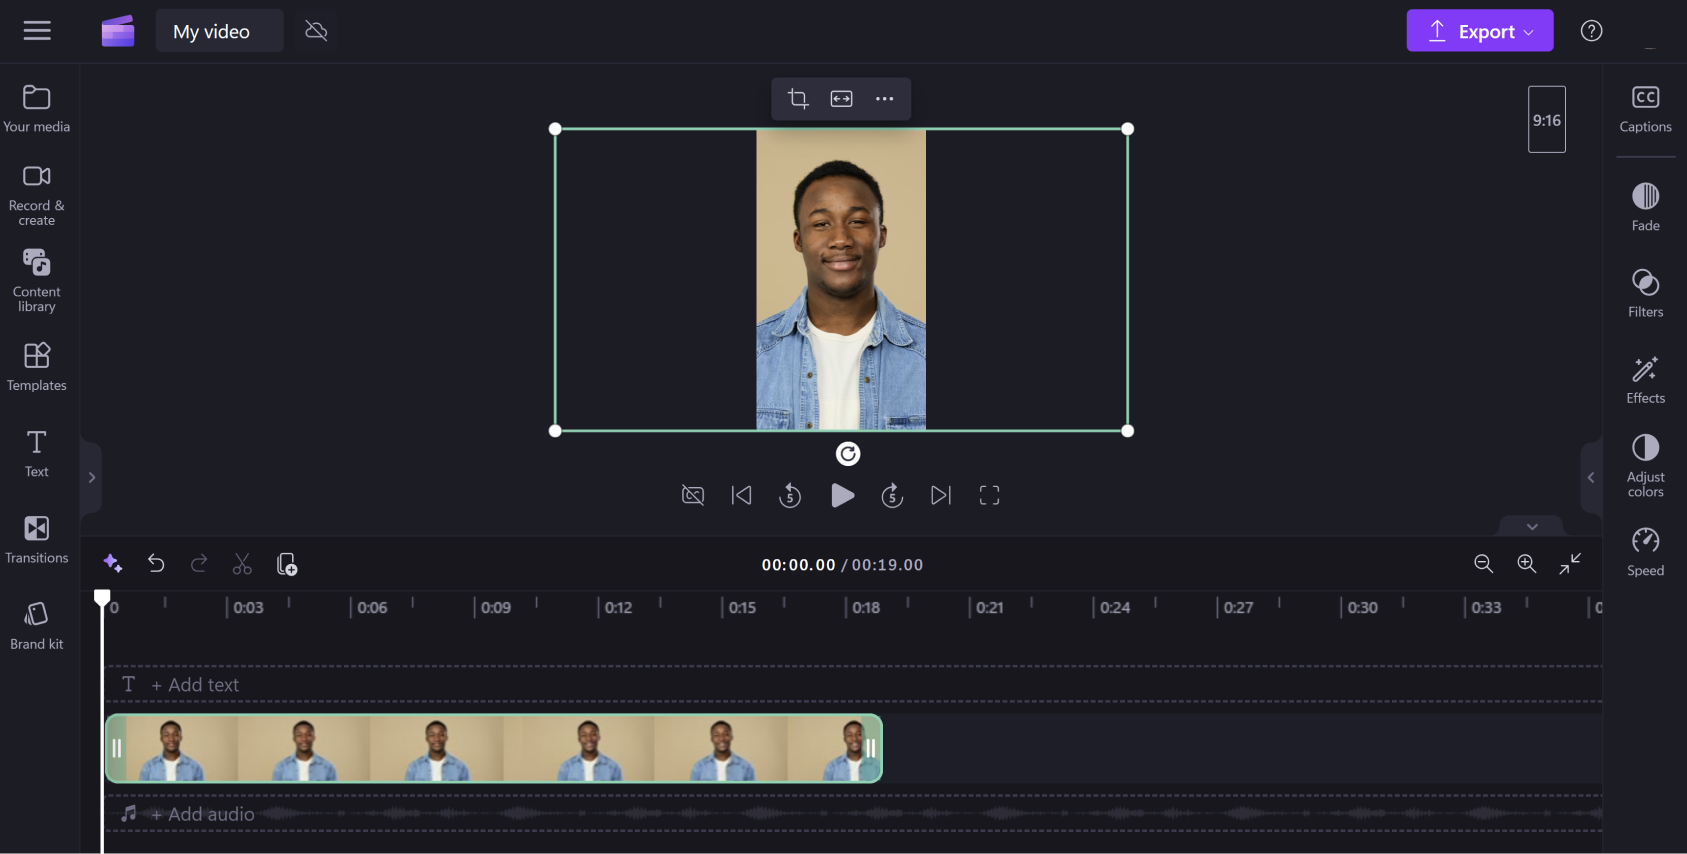
If your clip doesn't look quite right due to some unusual cropping, like your main visual not appearing in the centre, simply reposition it. Click on the video preview, then move it around with your cursor to a new location.

Another option is to click the fit button after you've clicked the fill button to keep the whole video with zero cropping.

Clicking the fit button will restore borders back to your video.

There is currently no way to simultaneously set all clips to 'fit' into the frame. You have to do it individually. But we're constantly improving the editor and there's plans to make this easier in the future.
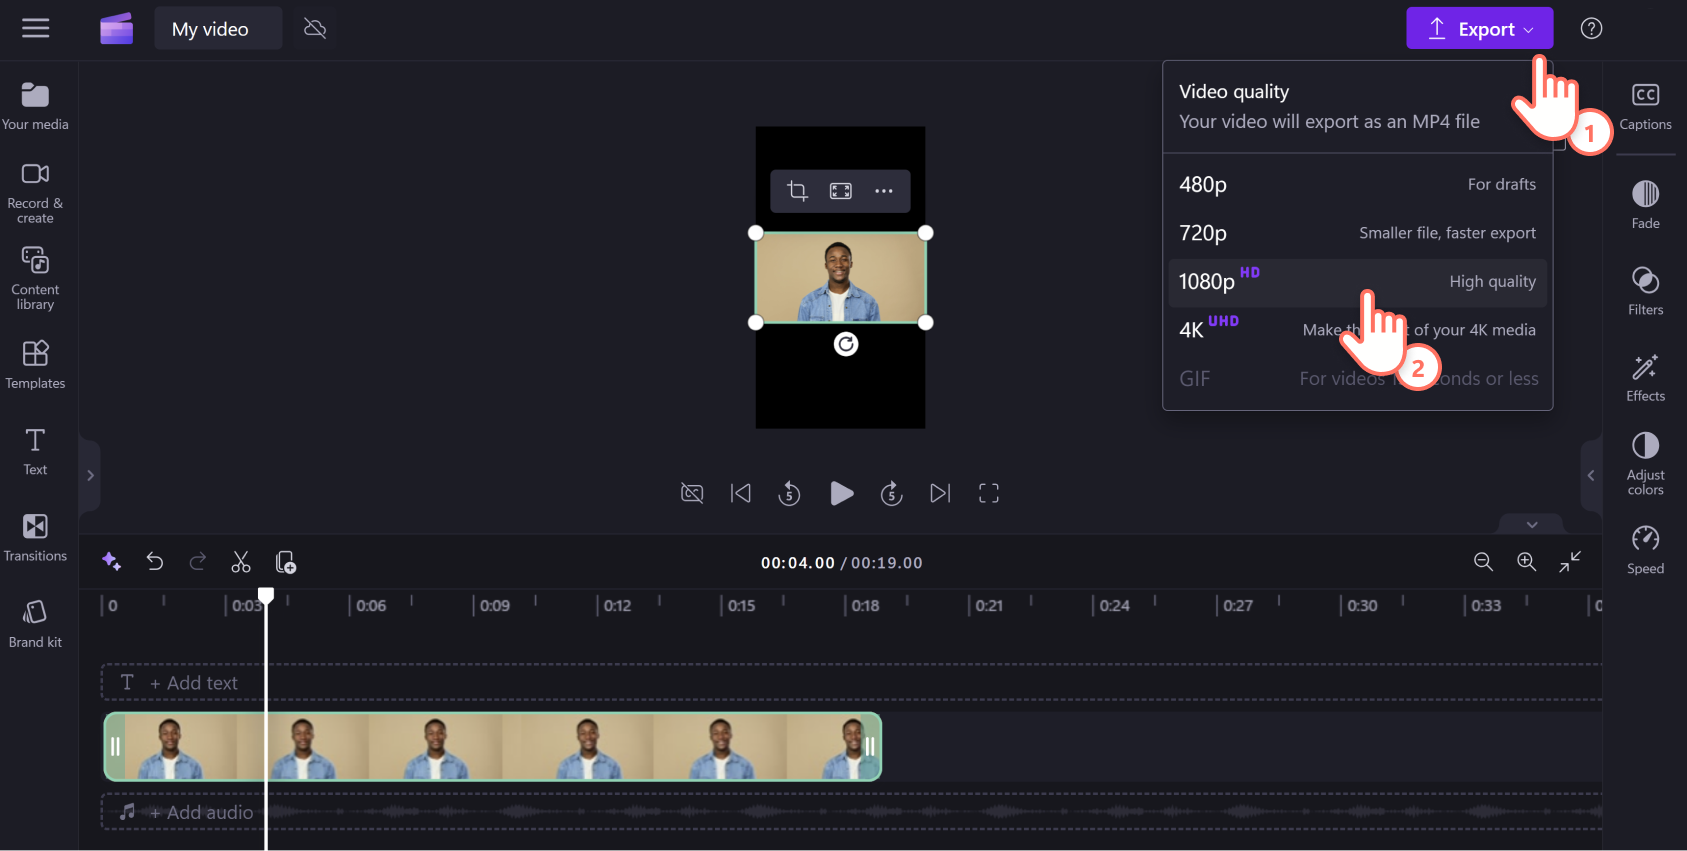
Step 5. Export your video
Click the export button at the top right of your screen to save your video.
Frequently asked questions
What if my videos all have different aspect ratios?
You'll always be able to add videos or images of any aspect ratio from the content library to your project no matter what you've set as your project aspect ratio.
Letterboxing will occur for any images or video in a different aspect ratio to your overall project. To remove these black bars use the crop to fill tool or rotate the clip to fit the screen.
Can I change the aspect ratio later?
Yes. It's easy to change the aspect ratio before of your video before or after exporting. Just select a new aspect ratio from the presets inside the editor. If you have already exported, click on the return back to editor button to keep editing.
Note: If changing the aspect ratio for an entire video, we recommend to check each individual clip on your timeline to ensure all frames look correct.


